Smartphones in the Dental Clinic: Advantages and Techniques for Professional Photography
In the world of modern dentistry, the technology plays a crucial role in the improvement of services and patient care. One of the most significant and accessible advances in recent years has been the dental photography with smartphones. With the increasing quality of cameras in mobile phones and the ease of use they offer, smartphones are rapidly becoming a indispensable tool in dental practice.
This trend not only facilitates clinical documentation and treatment follow-up, but also enhances communication with patients and colleagues. From the possibility of making preliminary diagnoses remotely to the ability to show patients the progress of their treatments in real-time, the benefits are numerous. However, some professionals may feel skepticism about whether this technology can equal the precision and quality of traditional photographic cameras.
In this article, we will explain the advantages and disadvantages of using smartphones for dental photography and offer practical tips on how to maximize their potential in your daily practice. Our goal is to inform and encourage dental professionals to adopt this versatile tool, demonstrating that with the use of proper techniques and specific accessories, smartphone dental photography can become a powerful and effective ally in the dental office.
What is dental photography and what is it used for?
Dental photography is a specialized practice within dentistry that involves taking high-quality images of the oral cavity, teeth, gums, and other related structures. These images are used to complement clinical documentation, diagnosis, and treatment planning, patient communication, and education and training.
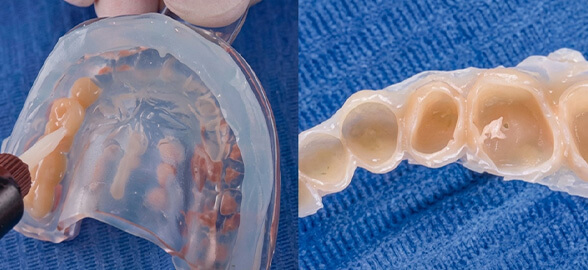
The traditional method used for this data collection has been professional photographic cameras, however, with the technological advancements of smartphones, many professionals are now opting to use them for image capture.Take a look at the best-selling dental photography instruments:
What advantages and disadvantages do mobile phones have compared to photographic cameras?
Size
Mobile phones, compared to photographic cameras, are lightweight, compact, and always at hand, making their physical handling much more comfortable and simple than with cameras.
Technical knowledge
In terms of technical handling, smartphones are designed to be easy to use, with intuitive interfaces and automatic functions, making them very useful for those who have little or no knowledge of photography.
Apps and the Cloud
Another advantage of smartphones is their rapid integration with mobile applications and cloud services, facilitating instant image editing, storage, or sharing.
Cost
Finally, the last notable benefit is the cost, as most people already have smartphones with suitable photographic features, without having to make any extra investment, whereas professional cameras tend to be expensive.
Quality
On the other hand, while the quality of images from the latest smartphone models is very high, with a wide field of view, good ISO range (greater light sensitivity with low noise), and some models even allow adjusting some photography parameters, the quality provided by professional cameras is still a step ahead. Professional cameras allow manual adjustment of all parameters such as ISO, aperture, and shutter speed, among others, and offer larger sensors, interchangeable lenses, and superior image processing capabilities, enabling us to obtain images of excellent quality that show even the smallest details.
Accessories
Another advantage that cameras may have is that they have many more accessories that help take the desired photograph than smartphones, however, we can increasingly find more products that help mobile phones in dental photography, such as the Resolut 2 illuminator.
Concluding...
In conclusion, for the day-to-day of dental clinics, smartphones are a perfect opportunity to document, diagnose, plan, and communicate all cases that arise in the clinic quickly, simply, and efficiently. However, if you have the necessary knowledge and the practice is more geared towards scientific publications, professional cameras may be more useful.
How can I obtain quality dental photographs?
The main thing is to make a prior collection of the preoperative and postoperative stages in both cases, intraoral and extraoral, in order to obtain a good photographic timeline.
Vélez Taboada, L. C., Chávez Sevillano, M. G., & Luque Luque, H. J. (2017). intraoral and extraoral photography. Researchgate.
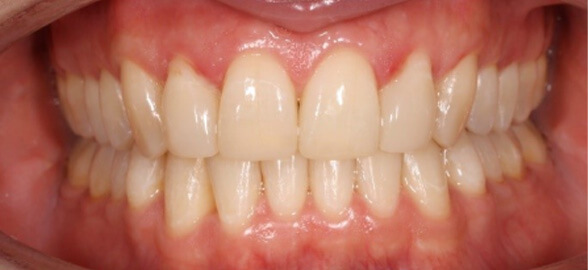
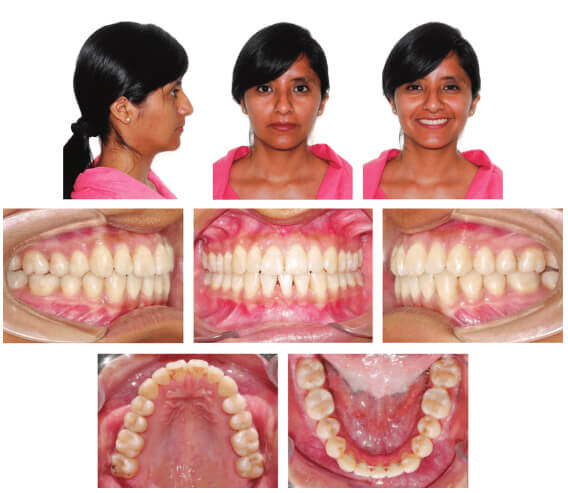
Intraoral Images
With all the disinfected instrumentation, including the smartphone, and having removed residues such as plaque, calculus, blood, or excess cement, with the help of lip retractors (specifically designed for photography, if possible), we will separate the lips at an angle of approximately 45º to take a clear photo. Next, we will place a straight opaque retractor in the patient's oral cavity to prevent the tongue from obstructing the image or creating reflections and poor contrasts. Finally, we will take the photo carefully, ensuring that all the details we want to capture appear clearly.
1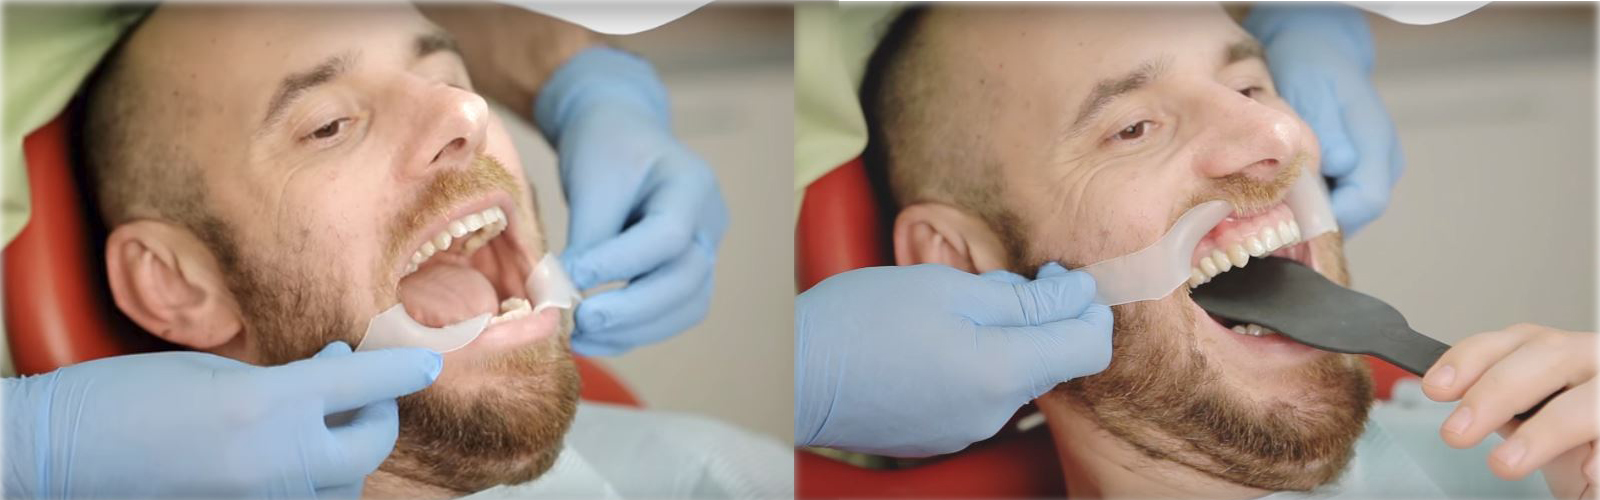
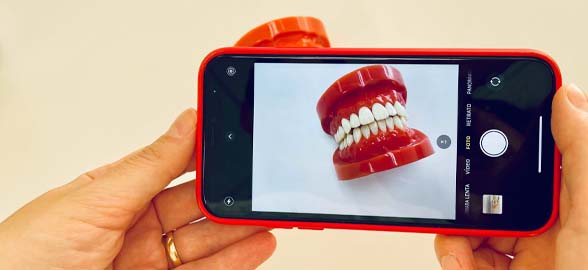
Dentaltix Tip: If your mobile device has the "locked focus" or "spot focus" function, simply place the camera lens where you want to capture an image, tap on the screen where you want the focus to be sharper and have more details. With this, you'll get a sharp photograph!
It's important to consider the lighting before taking the image. To do this, we should use a light source like Resolut 2 or, in a more homemade way, we can use the dental chair lamp by placing a cloth, foil, bag, or other white material to diffuse the light, reducing its intensity, preventing shadows, and avoiding image burnout. Also, remember to position the light and yourself to avoid casting shadows that can degrade the image quality.
2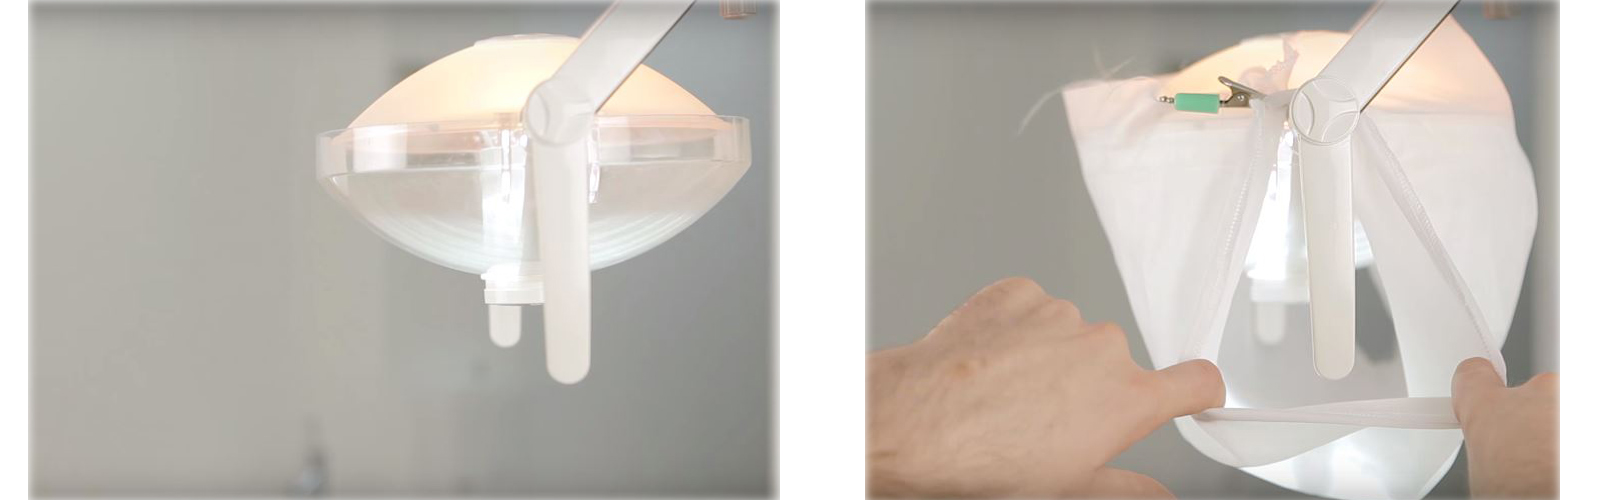
Extraoral Images
For these photographs, it's best to set your mobile device to portrait mode, as it allows you to see how the bite affects the morphology of the face. To get the ideal photo, we leave you with a series of recommendations:
- The patient should have a natural, complete smile.
- The nose should be in the center of the image.
- Be careful to avoid shadows on the wall where the photo is taken.
- The background should be a neutral color, preferably white.
- Place the patient about 50-60 cm in front of the background to reduce shadow.
- Place the mobile device at the height of the patient's eyes.
We hope we have encouraged you to start, improve or consider other options for dental photography to make your dental practice more complete and better!

We hope this post has been useful to you. To stay updated, follow us on our social media channels, where we'll share more articles, useful information, offers, and promotions from the dental sector. We're looking forward to seeing you there!