Complete Guide: Periodontics Instruments and their Uses
Today we're bringing you the guide you've been waiting for about periodontic instruments and materials.
Periodontic instruments have a specialised design and very specific functions, which you may be interested to know about. These instruments are used for the diagnosis and treatment of periodontal disease. If you'd like to hear more about them, keep on reading!
All periodontic instruments are used on the surface of the root and crown of the tooth in order to remove the calculus adhering to its surface and as a consequence, eliminate the infection and generate the healing of the periodontal tissues.
And how do we achieve this? By knowing everything about which periodontic instruments need to be used! Let's get started.
➔ PHASE 1: Initial exploration and diagnosis
In this first phase, the aim is to find out the patient's periodontal condition. The instruments used in this phase will be as follows:
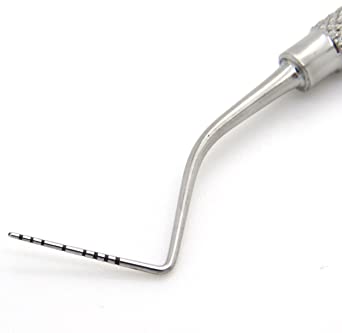
Periodontal probes
Disease of the periodontium has, as you know, several stages. Allowing its progression from the incipient stages, the result is the loss of teeth or edentulism, partial or total, with many negative consequences for patients.
What are periodontal probes? They are instruments for the exploration and allow to know the degree to which the damage to the periodontal tissues has advanced, thanks to its active part being marked with millimetres.
In the initial exploration, the periodontal probes provide the necessary information to make a periodontogram. This tool is a chart that records the depth of the gingival sulcus in millimetres, both on the vestibular side of the teeth and the palatal side.
What are the most common periodontal probes?
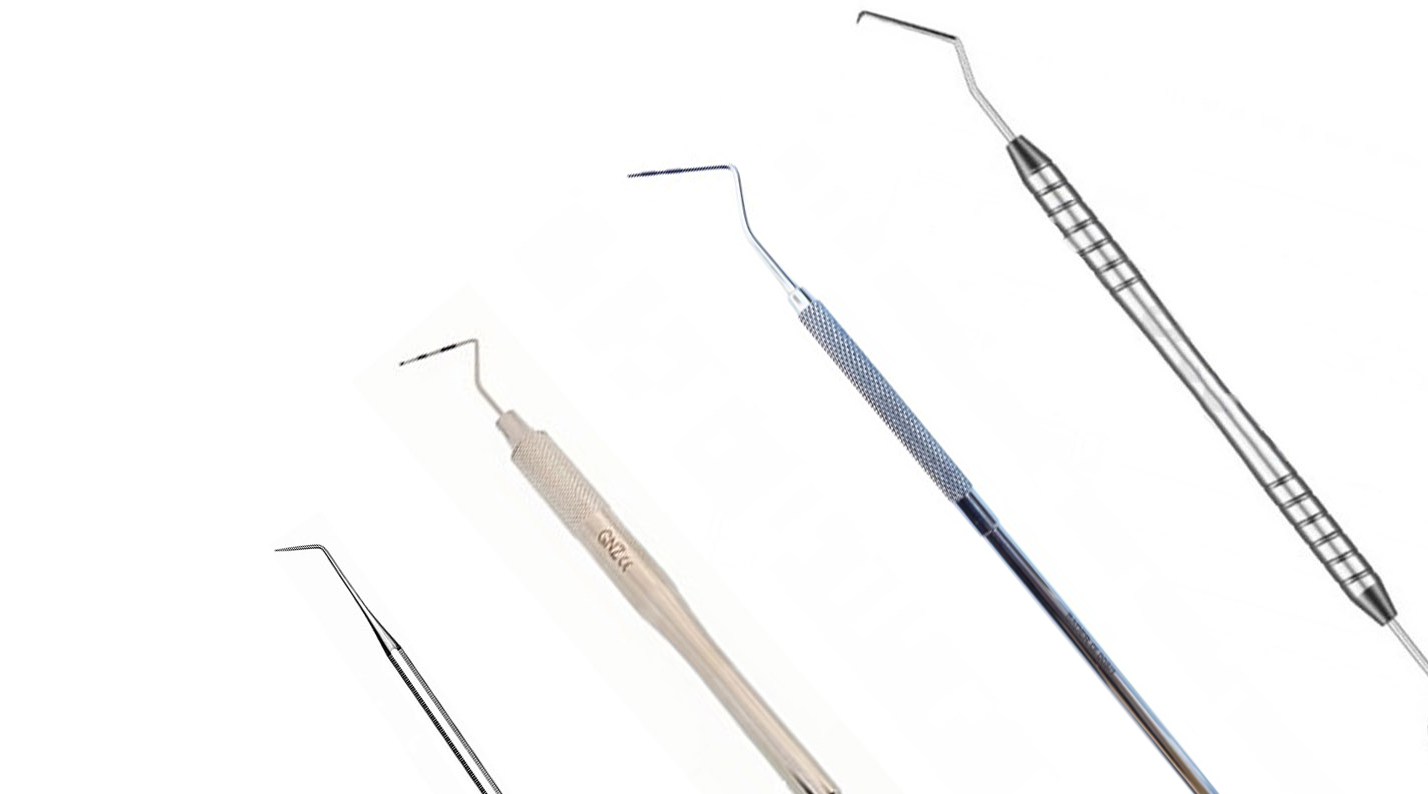
- North Carolina Probe: This probe is slightly thicker and has been considered to be the most standardised, as well as being easy to use.
- Williams Probe: is intended to measure the depth of periodontal pockets. It is marked in millimetres: 1-2-3-5-7-8-9-10.
- OMS probe: is characterised by a 0.5 mm diameter ball at the end and a black band indicating two lengths: 3.5 mm at the beginning and 5.5 mm at the distal end.
- Nabers probe: The profile of this instrument is useful, due to its curvature, to check the space between the roots of multi-rooted teeth. It's designed to be able to penetrate the area transversely, in order to detect the degree of furcal lesion, which refers to the bone between the roots.
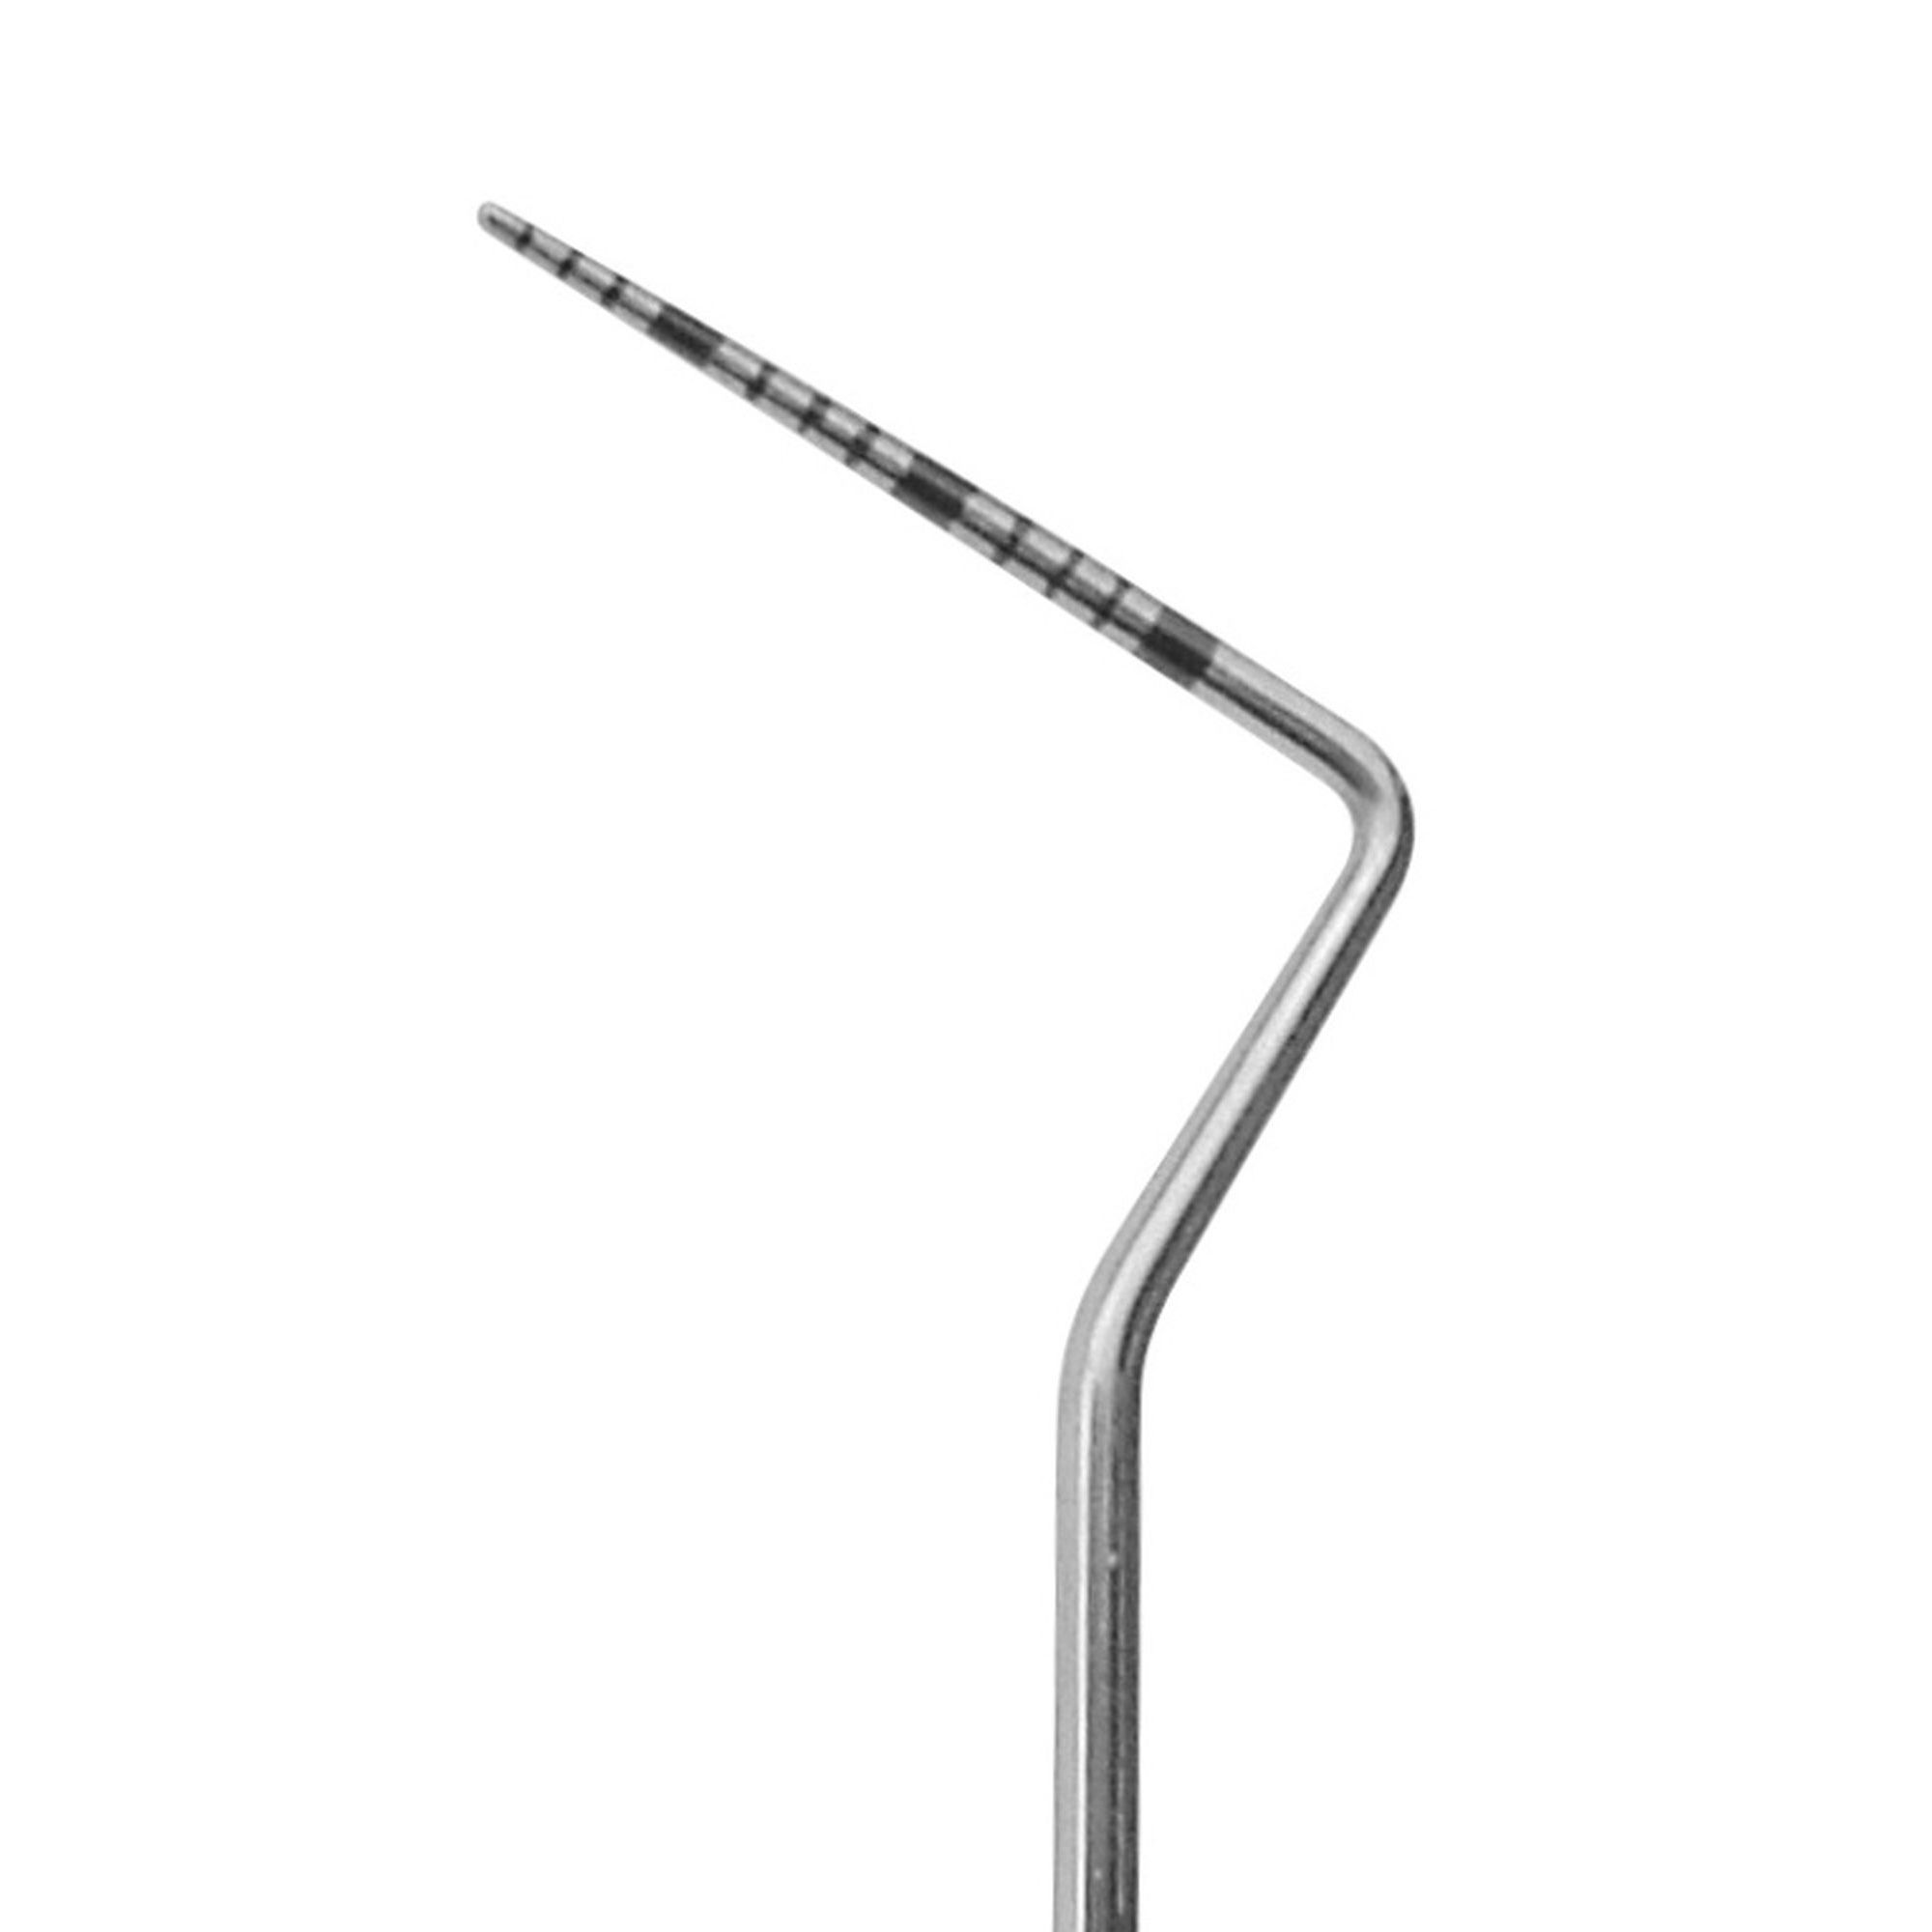
North Carolina Probe
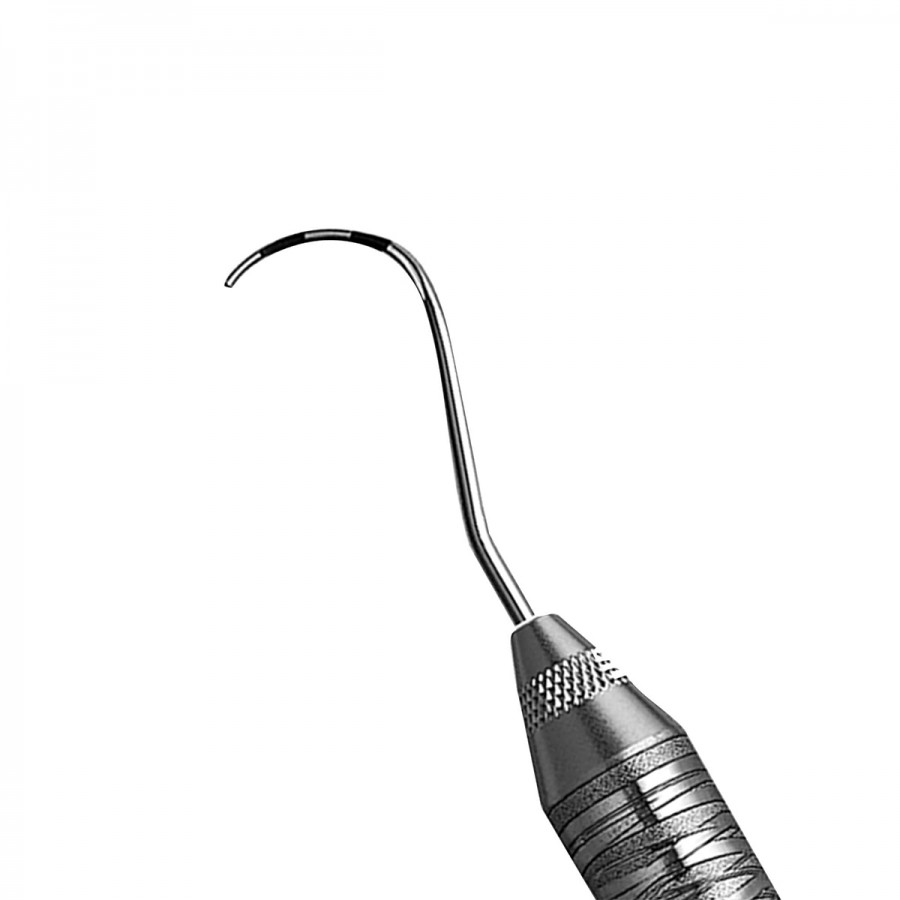
Nabers Probe
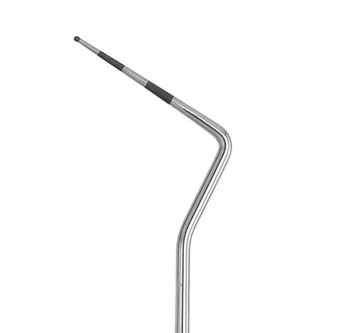
OMS probe
Williams Probe
Dental explorers
The dental explorers, on the other hand, are intended for clinical examination of the teeth, not the periodontium. They are used to assess the surface for the presence of dental calculus, caries, fissures or recurrences of previous fillings.
The numbering assigned to them allows you to identify their shape and function. Among the most commonly used are No. 23, with a sharp or blunt tip, No. 17 and endodontic No. 15 and No. 6A. The difference between explorers and dental probes then lies in the functions they are designed for.
Features of dental explorers
Probes, just like explorers and dental cleaning and polishing instruments must be made of inert metals, which do not react with the substances used in dentistry.
The active part, if sharp, should have a tip diameter of 0.2 millimetres. It can have a rounded end to avoid injury. The indentations on the handle allow for a secure grip, in order to avoid accidents.

➔ PHASE 2: Supragingival and subgingival dental calculus removal
Next, we'll tell you about the instruments created to remove supragingival or subgingival deposits on the teeth. How can the dentist benefit from these tools? Ergonomics and comfort and increased sensitivity with the instrument.
Dental curettes
Dental curettes are used to perform tartar removal: subgingival and supragingival tooth calculus is removed. They are also useful for scraping away necrotic soft tissue or cementum.
What types of dental curettes are there?
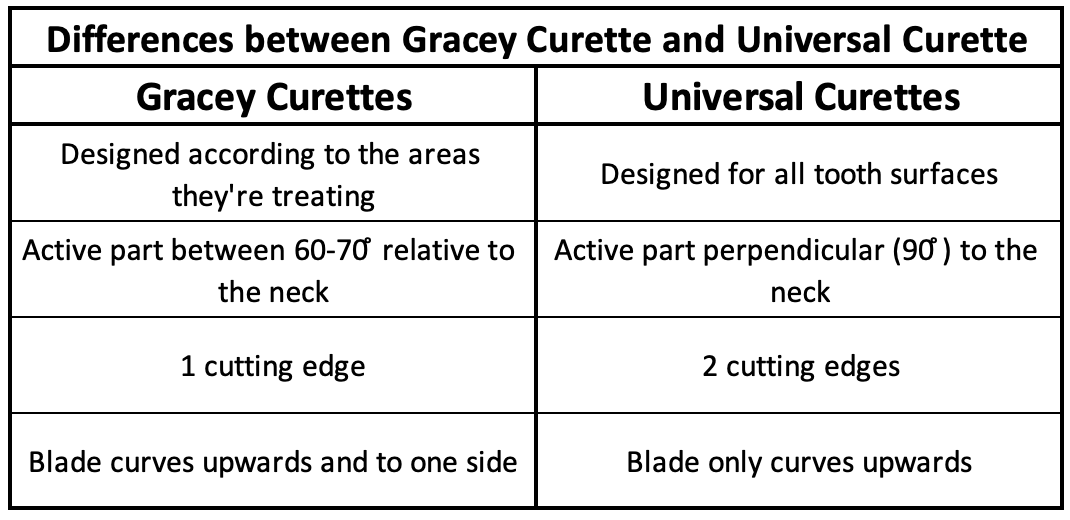
- Gracey curettes : the angulation of the active part with the neck determines the function of each type of dental curette and can be 60 or 70 degrees. The design of these instruments makes them suitable for reaching the gingival pockets of specific teeth, be theat canines, premolars, molars or incisors, depending on whether the angle with the neck is more or less closed.
- Universal curettes: 90 degree angulation, can be used on all tooth surfaces, and have two cutting edges and a rounded tip. The angulation they provide will allow you to reach different surfaces to remove moderate to large amounts of calculus. On universal curettes, the cutting blade curves upwards only.
For example, Gracey curettes 5 and 6 are preferably used on incisors. They all have a rounded tip as well, but a single cutting edge, which curves upwards and laterally.
What is the difference between a universal curette and a Gracey curette?
VIDEO: How to sharpen a dental curette
Frequent use of these dental instruments causes their edge to become blunt. In this case, they become less effective and must be re-sharpened. For this procedure, various types of stone, synthetic or natural, can be used. Arkansas is a natural stone with a fine texture, which provides both sharpening and finishing effects.
Synthetics include ceramic, for sharpening and finishing. India stone is an intermediate texture. It is suitable for instruments that are very blunt or need to be ground.
Don't miss the following video where you will learn how to properly sharpen a gracey curette.
What other periodontal instruments are used in the dental calculus phase?
Among the many instruments that have been created to be used manually, there are the following:
- Dental blades: have a triangular cross-section design and two cutting edges, with a sharp point. For these reasons, it cannot be used to remove subgingival calculus, as it would injure the gum. Its use lies in the removal of supragingival calculus.
- Dental files: they have three main purposes: they help to remove calculus, to polish restorations on the free surfaces of teeth or to prepare root canals. They contain an infinite number of cutting edges, at varying angles to the base.
- Dental hoe: their cutting edge is sharp and angled, and perpendicular to the handle of the instrument. Its purpose is to manually trim small portions of dental tissue, remove supra and sub gingival calculus and work on the last phase of cavity preparation.
- Dental brushes: these are long, rectangular blades with a sharp, double or single bevel. They are manufactured in a straight or angled shape. The larger ones are used for sectioning bone tissue, the medium ones for dentine or enamel and for large calculus deposits, and the small ones for gums.
Discover the favourite periodontal instrumentation among specialists:
View Periodontics Instruments!
All other phases (scaling, root planing and polishing) use air and water syringes, curettes, rubber brushes and cups, polishing strips and, on rare occasions, hoes.
Ergonomic principles and measures for hand instrumentation
In order to avoid accidents and increase the efficiency of periodontal treatments, certain ergonomic measures are necessary. They concern the positions, movements and grip of the instruments.
The movements to be performed by the dentist are classified as follows: class I, when using the fingers only; class II, for fingers and wrists; class III, when including the forearms. In class IV, the whole arm is mobilised from the shoulder, and class V involves rotation of the torso.
The grip of hand instruments is essential to achieve efficient movement with minimal muscle fatigue. The most commonly used are the pen grasp, modified pens and palmar grasp. The fulcrum should be dry and consist of an adjacent tooth or one in the opposing arch, provided it provides firmness.
Sophisticated periodontal instruments are the product of a long evolution. A thorough understanding and knowledge of its use is essential to successfully treating patients.
That's it for today's article! We hope you liked it and if you have any questions, remember that we're happy to help you. To keep you informed of all the latest news in the dental sector, we invite you to follow our social networks and youtube channel! See you next time!