Practice makes perfect and taking dental impressions is no exception. In addition to perfecting your technique, it is important to know how to identify the most common problems that often create the need to repeat an impression. In this article we'll give you simple tips to ensure that your impressions are always perfect without having to cross your fingers to get there.
Causes and solutions to take the perfect dental impression
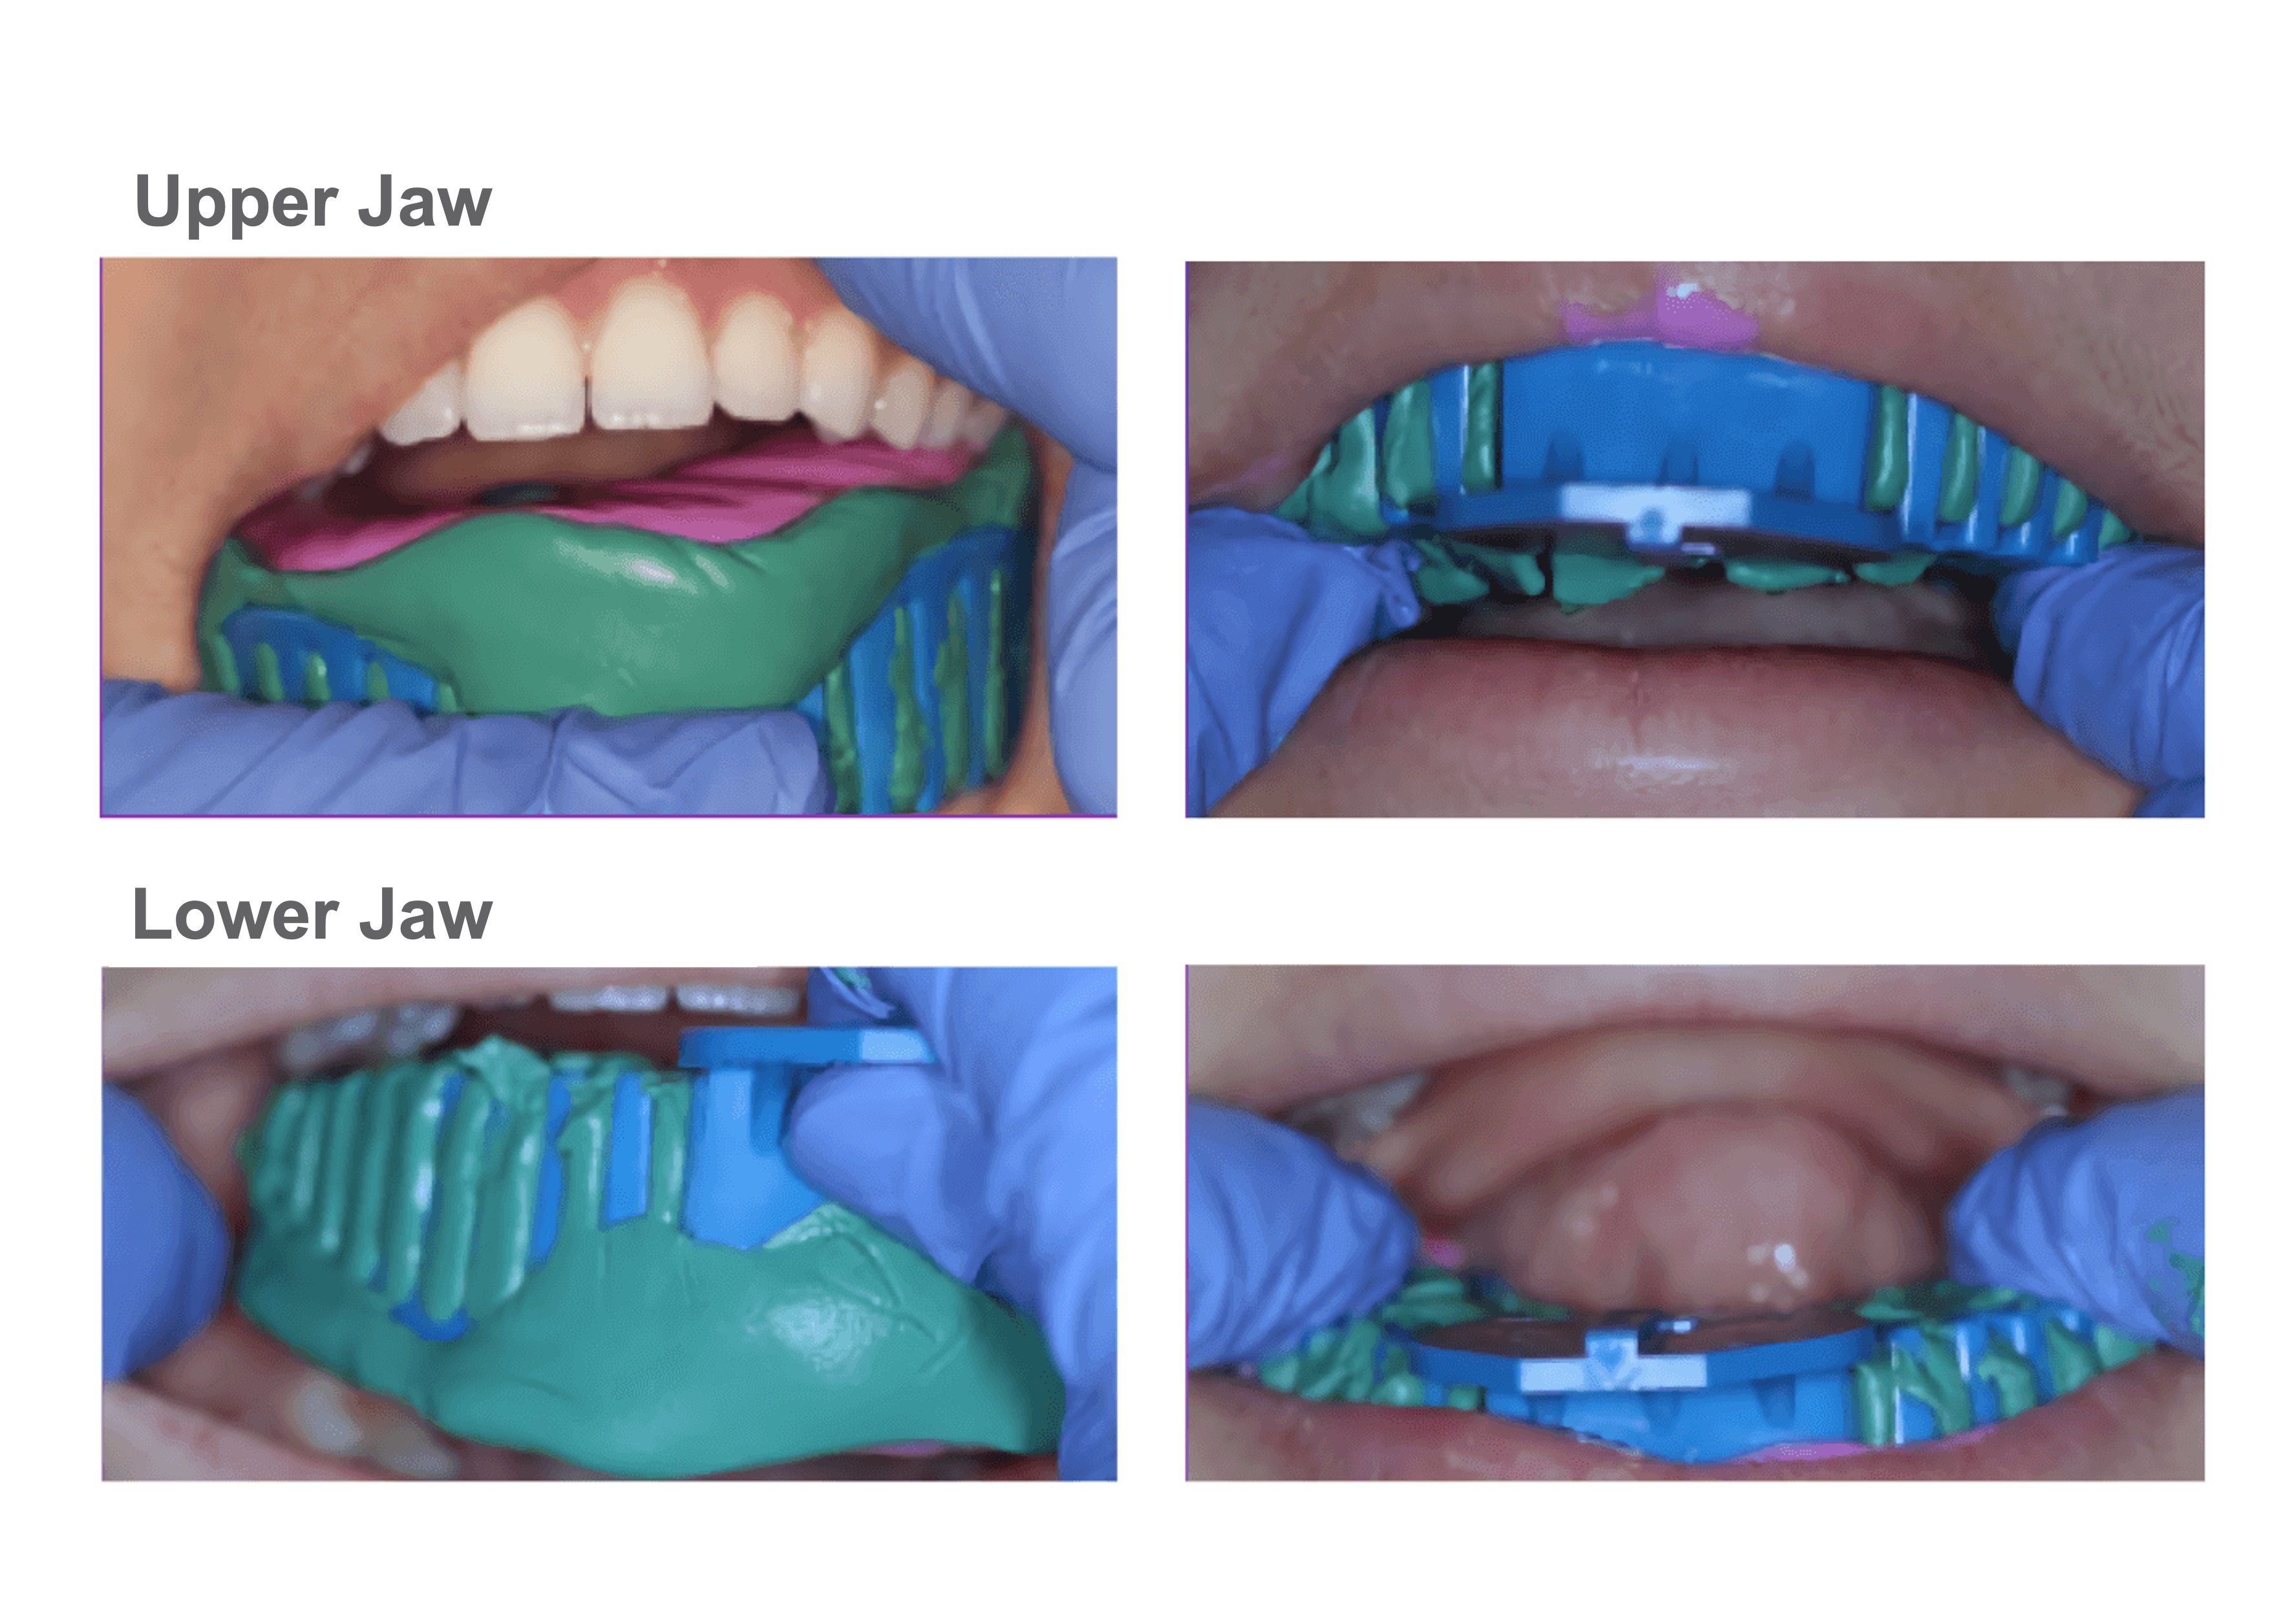
⚠️ 1. Bubbly margins
You've already taken your patient's impression and when you remove it, thinking how perfect it will be and that you won't have to repeat it... Surprise! There's an unwelcome bubble right on the edge of the mould. Now what? Why has this happened?
The tray has been improperly positioned: the best way is to insert the loaded tray slowly into the patient's mouth parallel to the long axes of the teeth where the preparation has been performed, then hold the tray in position by applying passive pressure on the premolar area to give stability. The patient should never be asked to hold the tray and should never be asked to bite into it.
 Reduced fluidity due to increased working time: If you are used to using fast-curing impression materials and you have exceeded the working time more than once, you might want to think about selecting a regular-curing material. Of course, this depends on each particular clinical situation. The working time recommendations given in the usage instructions of the materials you choose should be taken into consideration and you should pay careful attention to the recommended storage temperature, as high storage temperatures reduce working times.
Contamination around the preparation: blood and saliva can play tricks by generating bubbles on the edges of the preparation. The solution to this is to use liquid haemostatics and pastes with aluminium chloride base, aluminium sulphate and ferrous sulphate. In our Hemostasis in Dentistry Blog you will find the most efficient solutions for every situation.
Inadequate injection technique: avoiding this problem is very simple, just keep the mixing tip submerged in the paste to avoid the formation of bubbles. Start from the bottom upwards, covering all contact points and always keeping the tip close to the surface.
Reduced fluidity due to increased working time: If you are used to using fast-curing impression materials and you have exceeded the working time more than once, you might want to think about selecting a regular-curing material. Of course, this depends on each particular clinical situation. The working time recommendations given in the usage instructions of the materials you choose should be taken into consideration and you should pay careful attention to the recommended storage temperature, as high storage temperatures reduce working times.
Contamination around the preparation: blood and saliva can play tricks by generating bubbles on the edges of the preparation. The solution to this is to use liquid haemostatics and pastes with aluminium chloride base, aluminium sulphate and ferrous sulphate. In our Hemostasis in Dentistry Blog you will find the most efficient solutions for every situation.
Inadequate injection technique: avoiding this problem is very simple, just keep the mixing tip submerged in the paste to avoid the formation of bubbles. Start from the bottom upwards, covering all contact points and always keeping the tip close to the surface.
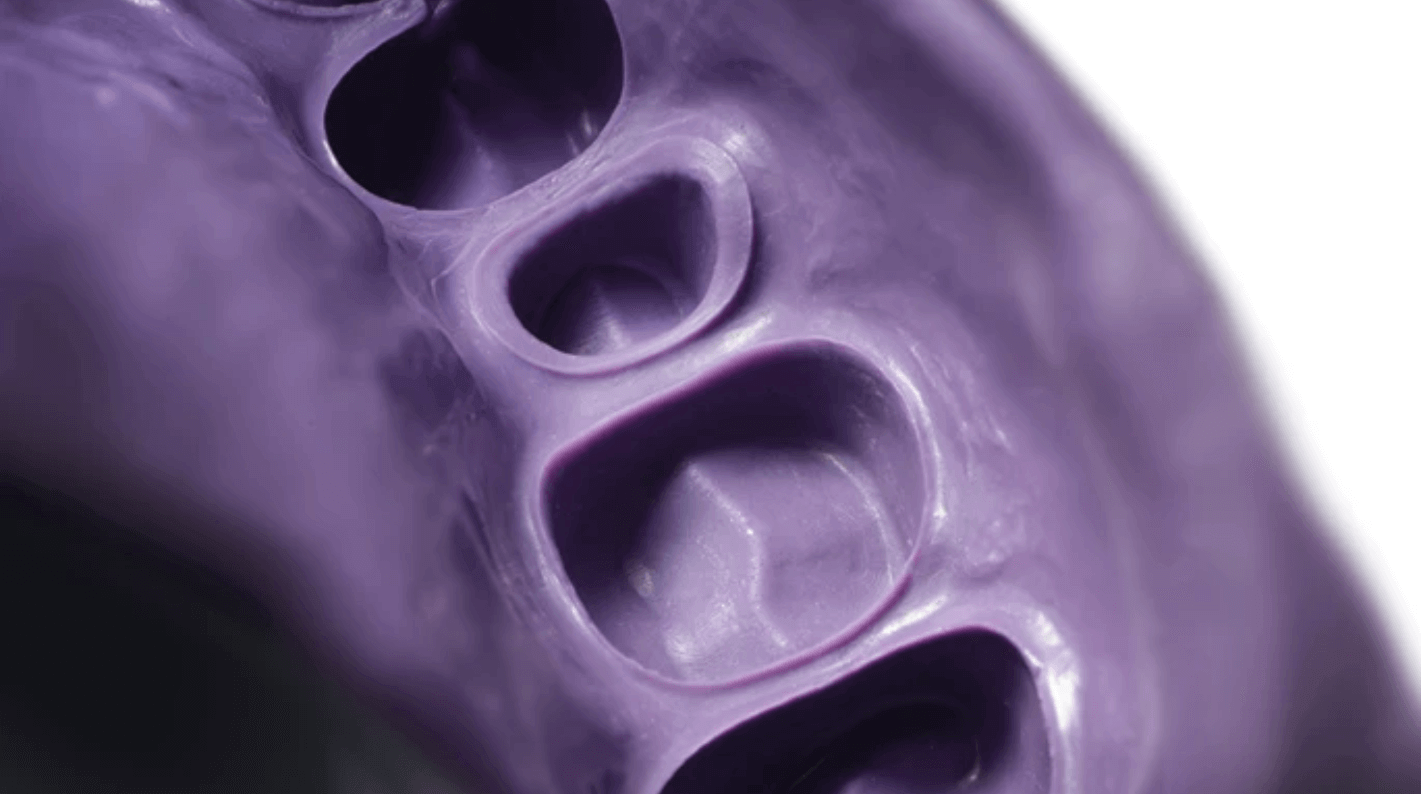
⚠️ 2. Margins with tears
There are many causes that can lead to torn margins on a dental impression, while this is another surprise we don't want to encounter, the good news is that it has a very easy solution.
Insufficient retraction: it is essential to retract the tissues surrounding the preparations by using retraction wires or pastes selected according to each clinical situation.
Impression material not mixed correctly: it is important to purge the cartridge before use in order to obtain a correct dosage.
Removing the impression too early: it is essential to follow the manufacturer's instructions regarding intraoral polymerisation time to the letter. Also a good tip, as mentioned above, is to be mindful of the storage temperature indicated in the instructions, storing impression materials at lower temperatures than recommended can prolong the polymerisation times.
The impression material is out of date: it's recommended to never to use out of date material.
The impression material used has low tear strength: the impression material must be allowed to fully polymerise before removing the tray and optimum quality impression materials must be selected to avoid these problems. With Impregum by 3M, a polyether-based material, you will be ready to achieve these perfect margins:
 Inhibition of polymerisation by using acidic shrink materials or hemostatic agents: Acids and hemostatic agents such as aluminium or ferrous salts may cause inhibition of polymerisation of the impression materials. The preparation should be thoroughly rinsed and dried prior to taking the impression.
Inhibition of polymerisation of VPS impression materials by mixing with latex gloves: to avoid this, the recommendation is to use gloves that do not contain sulphur, a good option are nitrile gloves.
Inhibited layers caused by other dental materials: temporary cements and acrylics present in temporary or core build-up materials can inhibit the polymerisation of impression materials, therefore the inhibited layer of these materials should be completely removed prior to taking the impression, ensuring that no residue is left behind.
Inhibition of polymerisation by using acidic shrink materials or hemostatic agents: Acids and hemostatic agents such as aluminium or ferrous salts may cause inhibition of polymerisation of the impression materials. The preparation should be thoroughly rinsed and dried prior to taking the impression.
Inhibition of polymerisation of VPS impression materials by mixing with latex gloves: to avoid this, the recommendation is to use gloves that do not contain sulphur, a good option are nitrile gloves.
Inhibited layers caused by other dental materials: temporary cements and acrylics present in temporary or core build-up materials can inhibit the polymerisation of impression materials, therefore the inhibited layer of these materials should be completely removed prior to taking the impression, ensuring that no residue is left behind.
⚠️ 3. Incomplete reproduction of margins
The factors mentioned above, such as insufficient retraction, contamination with oral cavity fluids, excessive working time and material with low tear strength, interfere with the complete reproduction of the preparation margins. To this we can add:
Inadequate margin coverage with light impression material: if you use the one-pass technique, avoid high viscosity contrast between the tray and the fluid material. It is essential to always follow the manufacturer's recommendations regarding the material mixture. If you use the two-step technique, the recommendation is to mould the material in the tray before applying the fluid material, you can also use a plate to make space.
⚠️ 4. Poorly defined margins
In addition to the factors we have already mentioned, there are others that can result in poorly defined margins, which, even if complete, are not entirely useful.
The final impression has been stored incorrectly: it may have been exposed to high temperatures or close to sunlight. Ideally, the print should be stored at room temperature. After disinfection, it should be rinsed with water and dried before being sent to the laboratory.
Inappropriate disinfection: Again, we recommend following the manufacturers' instructions for disinfectants that may be used, and not exceeding the immersion times.
⚠️ 5. Incomplete polymerisation of the impression material
There are many causes of this and they're closely related to the defects that appear in the margins of your impressions.
The inhibition of polymerisation caused by residues of other dental materials that have come into contact with the preparation is an important factor, which is why care must be taken to completely remove acids or haemostatic agents such as aluminium or ferrous salts and acrylates that are used in the reconstruction of dies or temporary materials. The use of latex gloves should also be avoided because they contain sulphides which act as inhibitors.
Another common reason is impatience and not waiting sufficient time recommended by the manufacturer before removing the impression from the patient's mouth or where polymerisation times have been altered due to storage of the material at very high or low temperatures.
⚠️ 6. Distorted impression
A distorted impression is far from perfect isn't it?, to avoid this you need to be careful in the selection of the materials you use from the tray to the impression material and also in the technique you use.
Working time exceeded: it may be that the material is not fluid enough when taking the impression, that is why it should be stored at room temperature so as not to affect its polymerisation times.
Lack of stabilisation of the tray in the initial polymerisation phase: it is very important to support the tray until the impression material is polymerised, it must be stabilised with passive pressure and any movement must be avoided. Once the tray has been inserted, its position cannot be corrected to avoid distortions.
Distortion during impression removal: here it is really important to select the correct tray size for the patient and also to choose a material with optimal elastomeric properties, of good quality. The impression should always be removed along the prepared tooth axis. Also avoid choosing trays that are too flexible, rigid ones are ideal.
⚠️ 7. Fluid impression material displaced
It's recommended to avoid displacement of the flowable material is to use a generous amount of material, thus ensuring that it stays in the preparations and at the contact points.
You should also avoid high viscosity contrast between the tray and the flowable material, especially when using fillers, these should be combined with a high viscosity flowable material.
⚠️ 8. The tray is visible!
This common and frustrating error is associated with several factors that have very simple solutions.
Too much pressure when setting the tray: the pressure applied when setting the tray must be controlled and maintained, thus preventing teeth or soft tissue from coming into contact with the bottom of the flask. Remember that the handle is only to bring the tray into the patient's mouth, when the tray is placed it should be held from the premolar area to provide stability. This passive pressure should be held until the impression material is polymerised.
Tooth or tissue in contact with the tray: this may occur if using trays that are too small for the patient, care should be taken to select the appropriate size and if necessary, use facial/oral, occlusal or dorsal stops.
Insufficient impression material: being generous with the impression material is key to avoid this error.
⚠️ 9. Defects in the flow on the buccal surface
At this point, again, overworking times can play tricks, but not only that, let's review other factors:
Inserting the tray too quickly: to reduce flowability defects, it is ideal to insert the tray slowly, waiting at least 5 seconds.
Repositioning the tray: as a rule of thumb, moving the tray after it has already been set leads to certain failure. Always avoid any movement and continue to apply passive pressure until the material is polymerised.
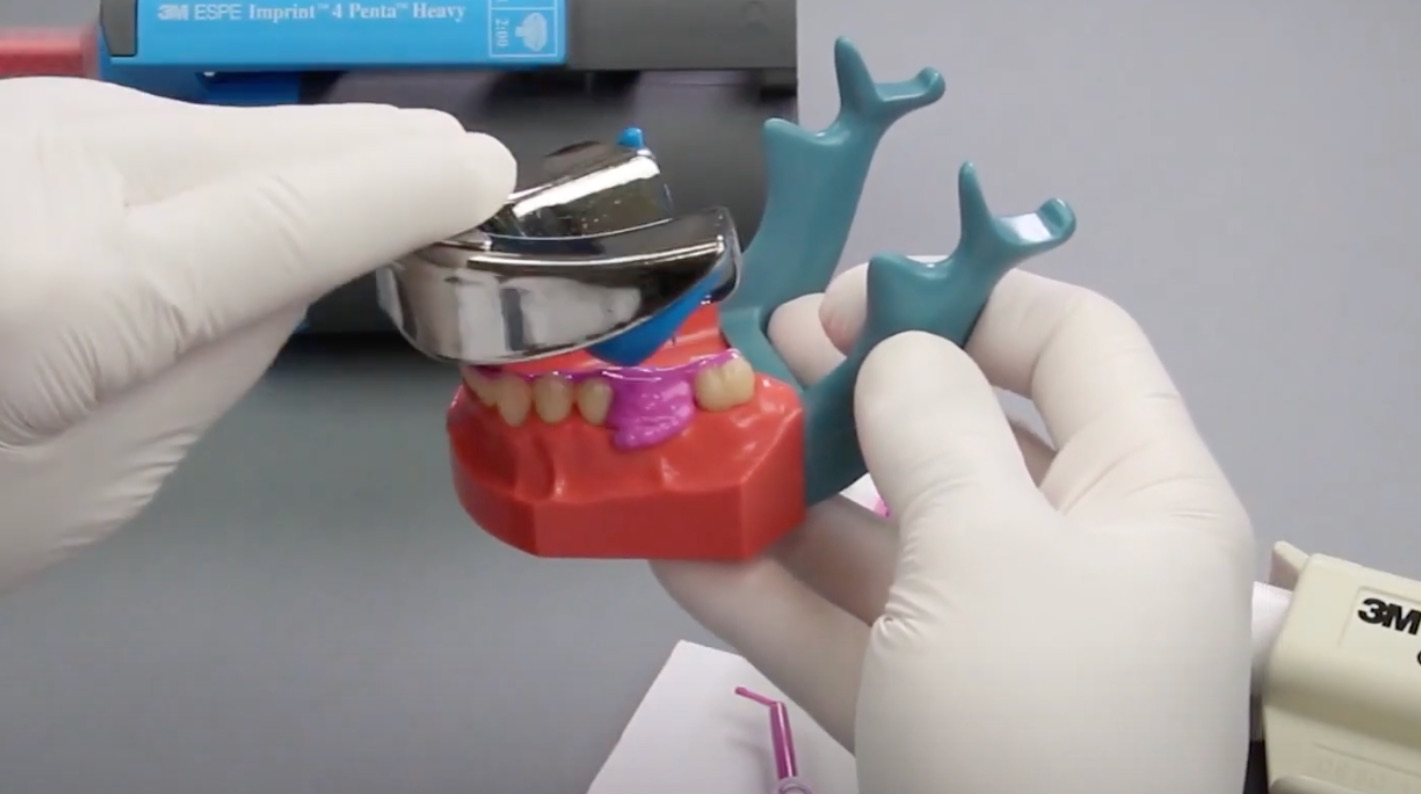
⚠️ 10. Poor adhesion between the tray and the flowable impression material
To prevent this from occurring, always avoid realigning the impressions, as this often causes distortions and poor adhesion between the new flowable material and the already polymerised material. The best thing to do in this case is to repeat the impression. In addition to this, the following can occur:
Inadequate cleaning and drying of the initial impression: in the two-step technique it is crucial to clean the initial impression with water or alcohol and air-dry it perfectly before making the second impression.
⚠️ 11. Poor adhesion of the impression material to the tray
No tray adhesive was used: there are a variety of adhesives on the market that provide adequate adhesion between the tray and the impression materials. The adhesive must be applied to the bottom and inner walls of the tray, including the gauze of the dual-arch cuvettes. An important point to take into consideration is to use the appropriate adhesive for each impression material, which in the case of VPS and polyethers, is different.
⚠️ 12. Discrepancy in plaster moulds
When using VPS impression materials you must respect the minimum waiting times before taking the impression, this will prevent the release of hydrogen gas which results in bubbles on the surface of the plaster models.
Another practical way to avoid discrepancies in the models is to provide the dental laboratory with all the details of the materials that were used in the process such as the impression material used with its date of manufacture.
10 tips to achieve the perfect dental impression
Finally, we can conclude that the perfect impression does exist and that you can achieve it by keeping these 10 simple tips in mind:
- Choose a printing material with a suitable viscosity according to the technique to be used. Choose impression trays that are the correct size for the patient, rigid and resistant.
- Perform correct retraction in clean and dry conditions.
- Always use tray adhesives specific for each type of material.
- Mix materials uniformly and homogeneously. Opt for self-mixing materials.
- Use latex-free gloves so that sulphides do not impede the polymerisation of VPS materials. Nitrile gloves are an alternative.
- To avoid bubbles, keep the mixing tip submerged in the dispensing fluid material.
- When inserting the loaded tray, do so slowly and parallel to the long axes of the prepared teeth. Maintain a controlled pressure until the material is polymerised.
- When removing the tray from the patient's mouth, avoid unilateral rotation. Observe time indicated by the manufacturer before removing the tray.
- Check that the preparation margins are correctly reproduced.
- Disinfect the impression according to the manufacturer's instructions. Rinse the prints with water before and after disinfecting. Dry them properly before sending them to the laboratory.
What did you think of these tips? We hope to continue sharing useful information with you to make your dental practice better every day. We look forward to seeing you on our social media!
See you soon!